How To Lace Running Shoes For Heel Slip
A practical step-by-step guide to how to lace running shoes for heel slip, including preparation, instructions, common issues, tips, and next steps.
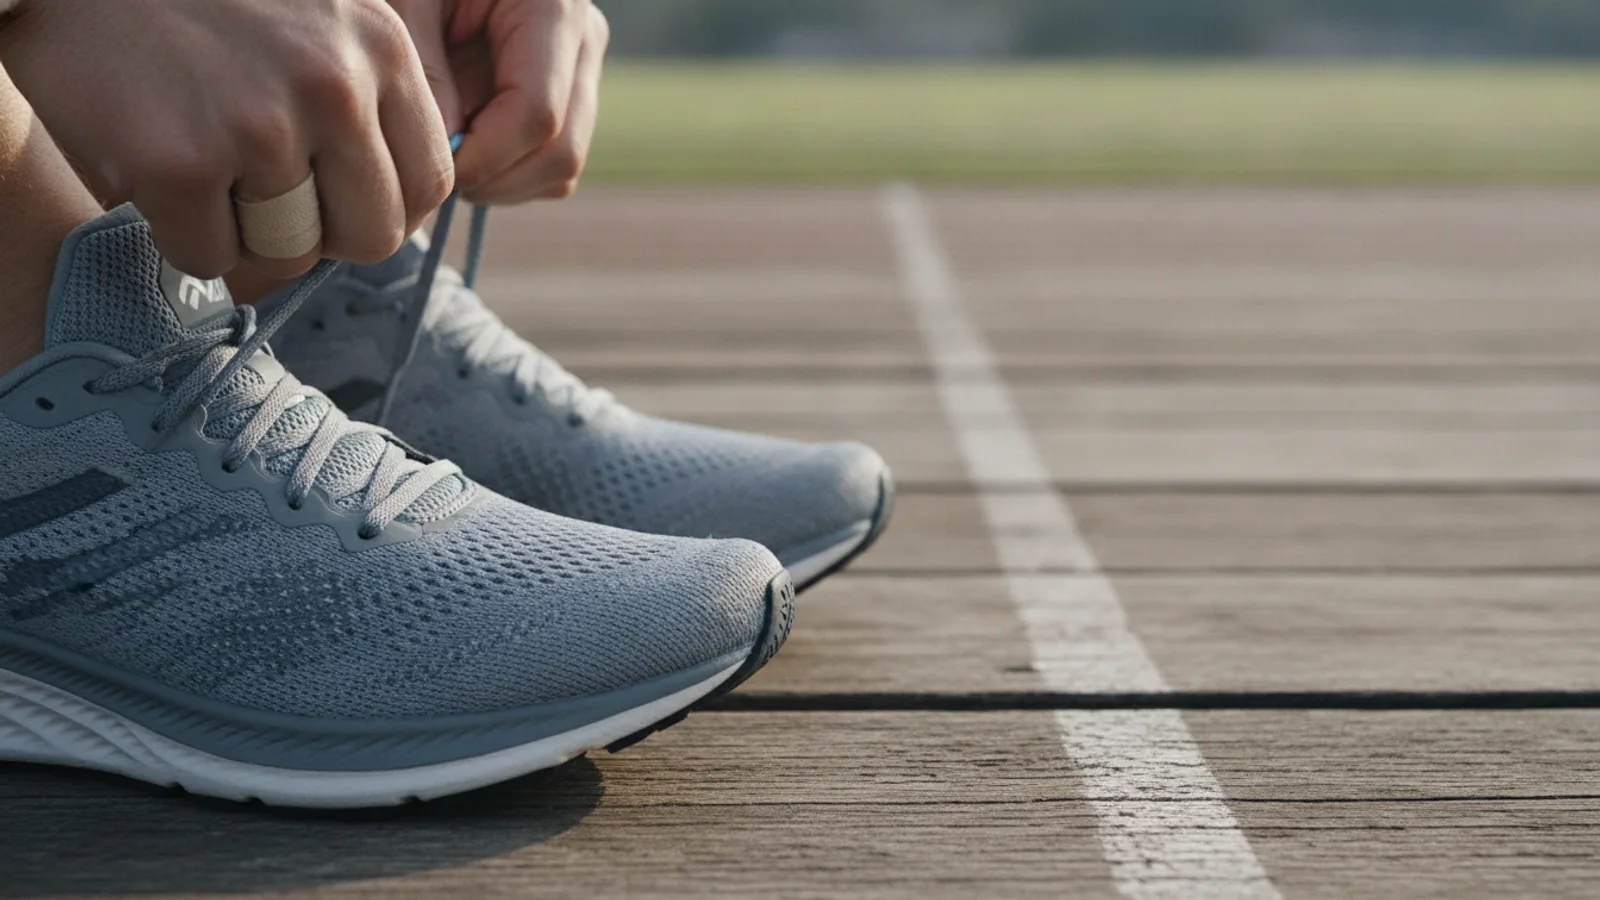
How To Lace Running Shoes For Heel Slip
This guide explains how to approach how to lace running shoes for heel slip, including the preparation, practical steps, common mistakes, and final checks that help you finish with confidence.
Before You Start
Step-by-Step Instructions
Quick Reference
Common Problems When Lacing Running Shoes For Heel Slip
Even with the best intentions, you might encounter a few snags when applying the heel lock technique. Here are some common problems and practical ways to solve them:
1. Foot Feels Pinched or Too Tight Across the Instep
This is a frequent complaint, especially for runners with high arches or sensitive insteps. The heel lock requires more tension at the top of the shoe, which can sometimes transfer too much pressure to the midfoot. The solution lies in varying the tension across different sections of your lacing.
- Fix: When tightening, focus the firm pull specifically on the laces that go through the heel lock loops. For the rest of the shoe (midfoot and forefoot), keep the lacing snug but noticeably looser. You can even try "gap lacing" in the midfoot, where you skip one set of eyelets if you have a very high instep, and then resume standard lacing or the heel lock higher up.
- Why: This allows the top of the shoe to be tight enough to hold your heel, while the rest of your foot remains comfortable and unrestricted, preventing numbness or pain.
2. Heel Still Slips, Even After Applying the Heel Lock
If your heel continues to lift after implementing the heel lock, it could point to a few issues beyond just lacing.
- Fix:
- Why: Lacing is an adjustment, not a magic bullet. If the shoe is inherently too large or wide for your foot, other measures or a different shoe model might be necessary.
3. Laces Come Undone Frequently
Loose laces are a trip hazard and a nuisance. If your newly laced shoes keep coming untied, it's often due to the knot itself or the lace material.
- Fix:
- Why: Friction is key to a knot's security. A stronger knot or laces with more grip will resist the dynamic movements and forces of running.
4. Top Eyelets Feel Weak or Tear
While rare, excessive force or very thin eyelets can sometimes lead to damage over time, especially with the extra tension of a heel lock.
- Fix:
- Why: Preventing damage means understanding the limits of your shoe's construction and applying tension appropriately.
Advanced Tips for How To Lace Running Shoes For Heel Slip
Once you've mastered the basic heel lock, you can experiment further to fine-tune your shoe's fit for optimal performance and comfort on every run.
1. Understand Your Foot's Hot Spots
Every runner's foot is unique. Some have high arches, some wide forefeet, others narrow heels. Pay attention to how your foot feels throughout your runs. Are there any areas that consistently feel too tight, too loose, or develop blisters? This feedback is invaluable for customising your lacing.
- For High Insteps: If you feel pressure on the top of your foot (instep), consider skipping one pair of eyelets in the midfoot section of your lacing. This creates a "window" of less pressure, while you can still apply the heel lock higher up to secure the ankle.
- For Wide Forefeet: Keep the lacing looser towards the toe box, even using a straight bar lacing pattern across the first few eyelets to prevent pinching. Then transition to criss-cross and the heel lock as you move up the foot.
- For Narrow Feet: You might need to pull the standard criss-cross lacing a little tighter throughout the midfoot before engaging the heel lock to ensure an overall snugger fit.
2. Experiment with Different Lacing Materials
The type of lace can significantly impact how well your shoes stay tied and how evenly tension is distributed.
- Flat Laces: Generally considered superior for running shoes as they lie flatter, distribute pressure more evenly, and are less likely to come undone than round laces due to more surface contact.
- Elastic Laces (e.g., Lock Laces): These replace traditional laces with an elastic cord and a locking mechanism. While not directly for heel slip, they can improve overall comfort by allowing your foot to expand naturally during a run. If you use them, ensure the locking mechanism is pulled tight enough at the top to mimic a heel lock effect.
- Waxed Laces: Some runners prefer waxed laces for their superior grip, which helps knots stay tied and prevents laces from slipping through eyelets and loosening during a run.
3. The Role of Socks and Insoles
Lacing isn't the only variable. Your socks and insoles also play a critical role in how your shoe fits and feels.
- Sock Thickness: Thicker socks can take up more volume in a shoe, making a slightly loose shoe feel more snug. Thinner socks do the opposite. Always test lacing with your preferred running socks.
- Sock Material: Moisture-wicking synthetic blends or merino wool are best for preventing blisters, which can be exacerbated by heel slip. Avoid cotton socks for running.
- Aftermarket Insoles: If your shoe feels generally sloppy, or you have specific arch support needs, an aftermarket insole can dramatically change the fit and feel. Some insoles offer a deeper heel cup, which can naturally reduce heel slip before you even start lacing.
4. Dynamic Adjustments on the Go
Sometimes, what feels good at the start of a run might change during a long effort. Your feet swell, and your running mechanics might shift. Don't be afraid to stop and adjust your laces mid-run if you notice discomfort or a resurgence of heel slip. A quick re-tighten of the heel lock area and a re-tie can often salvage a run.
By considering these advanced tips, you can move beyond simply solving heel slip and truly optimise your shoe fit for maximum comfort and performance on any route.
How To Lace Running Shoes For Heel Slip FAQ
Q: Can I use the heel lock lacing technique on any running shoe?
A: Yes, almost all running shoes with traditional eyelets can benefit from the heel lock technique. As long as your shoe has at least two pairs of eyelets near the top of the ankle opening, you can create the loops needed for the heel lock. It's particularly effective on shoes with a more flexible upper or generous padding around the ankle collar that might otherwise allow for heel movement.
Q: Does heel lock lacing damage the shoe or laces?
A: When done correctly and without excessive force, heel lock lacing should not damage your shoes or laces. The technique is designed to use the existing structure of the shoe to create a more secure fit. Over-tightening, however, can put undue stress on the eyelets or cause premature wear on the laces where they rub. Always aim for snugness, not extreme tightness.
Q: What if my shoe only has a few eyelets?
A: Most running shoes have enough eyelets to accommodate a heel lock. If your shoe has fewer eyelets than average (e.g., only four or five pairs), you can still create a heel lock as long as there are two pairs of eyelets above where the main body of the shoe secures your midfoot. You'll simply start your lacing closer to the toe and ensure you have those two top eyelets free for the loop creation.
Q: How tight is too tight with heel lock lacing?
A: Too tight is when you experience discomfort, pain, numbness, tingling, or restricted blood flow. Your foot should feel securely held, not compressed or suffocated. You should still be able to wiggle your toes, and there shouldn't be any painful pressure points on the top of your foot or around your ankle. If you see deep indentations on your skin from the laces after taking your shoes off, it might be a sign you're lacing too tightly.
Q: Can heel lock lacing help with blisters on my heel?
A: Absolutely! Heel slip is one of the primary causes of heel blisters. When your heel repeatedly rubs against the inside of the shoe with each stride, friction increases, leading to hot spots and eventually blisters. By securely locking your heel in place, the heel lock lacing technique significantly reduces this friction, making it a very effective method for preventing and alleviating heel blisters.
Q: How often should I re-lace my shoes using this method?
A: Ideally, you should lace your shoes using the heel lock technique every time you put them on for a run. The individual tensioning of each section, especially the top loops, ensures a customised and secure fit for that specific session. While you might get away with slipping them on and off without completely re-lacing, you'll lose some of the precision and benefit of the technique.
Final Checklist for How To Lace Running Shoes For Heel Slip
Shoes prepared: Laces are loosened or removed for a fresh start.
Basic lacing secure: Forefoot and midfoot are snug but comfortable.
Heel lock loops created: Loops are formed correctly on each side using the top eyelets.
Laces crossed and threaded: Each lace end goes through the opposing side's loop.
Tension adjusted: Laces are systematically tightened from bottom to top, with a firm but not painful pull on the heel lock loops.
Knot secure: Laces are tied with a firm double knot to prevent loosening.
Fit tested: Walked and jogged in shoes; heel feels secure, no slipping, no pressure points, no numbness.
Comfort checked: Overall foot comfort is prioritised, with targeted tightness for the heel lock.